 I think it's incredibly important that everyone takes an interest in observing and looking after our natural world. Being a secondary school science teacher, I do, in some respect, have the potential to influence the views of the pupils I teach. Even if ecology and natural history have no place in the new curriculum, that doesn't mean to say they have no place in my classroom.
When I first started at my school as an NQT, four years ago, I began a nature table. I could never remember, even at my primary school, seeing one when I was growing up, and thought it would be a good place to start. It generated some interest in my tutor group when they were year 7, but as they have grown, and as I have gained more responsibility, my nature table began to look dusty and unused.
I decided it was high time for a make over, so I have spruced up my nature table, at relatively low cost, and made it look a little more 'professional'. Here is a guide to how I did it, and I am writing in the hope that other teachers out there might follow my lead, or perhaps others will at home.
 Materials required:
- 90 cm x 50 cm rectangle of green felt (£4.50)- 50 cm strip of medium thickness wadding (£1.43)
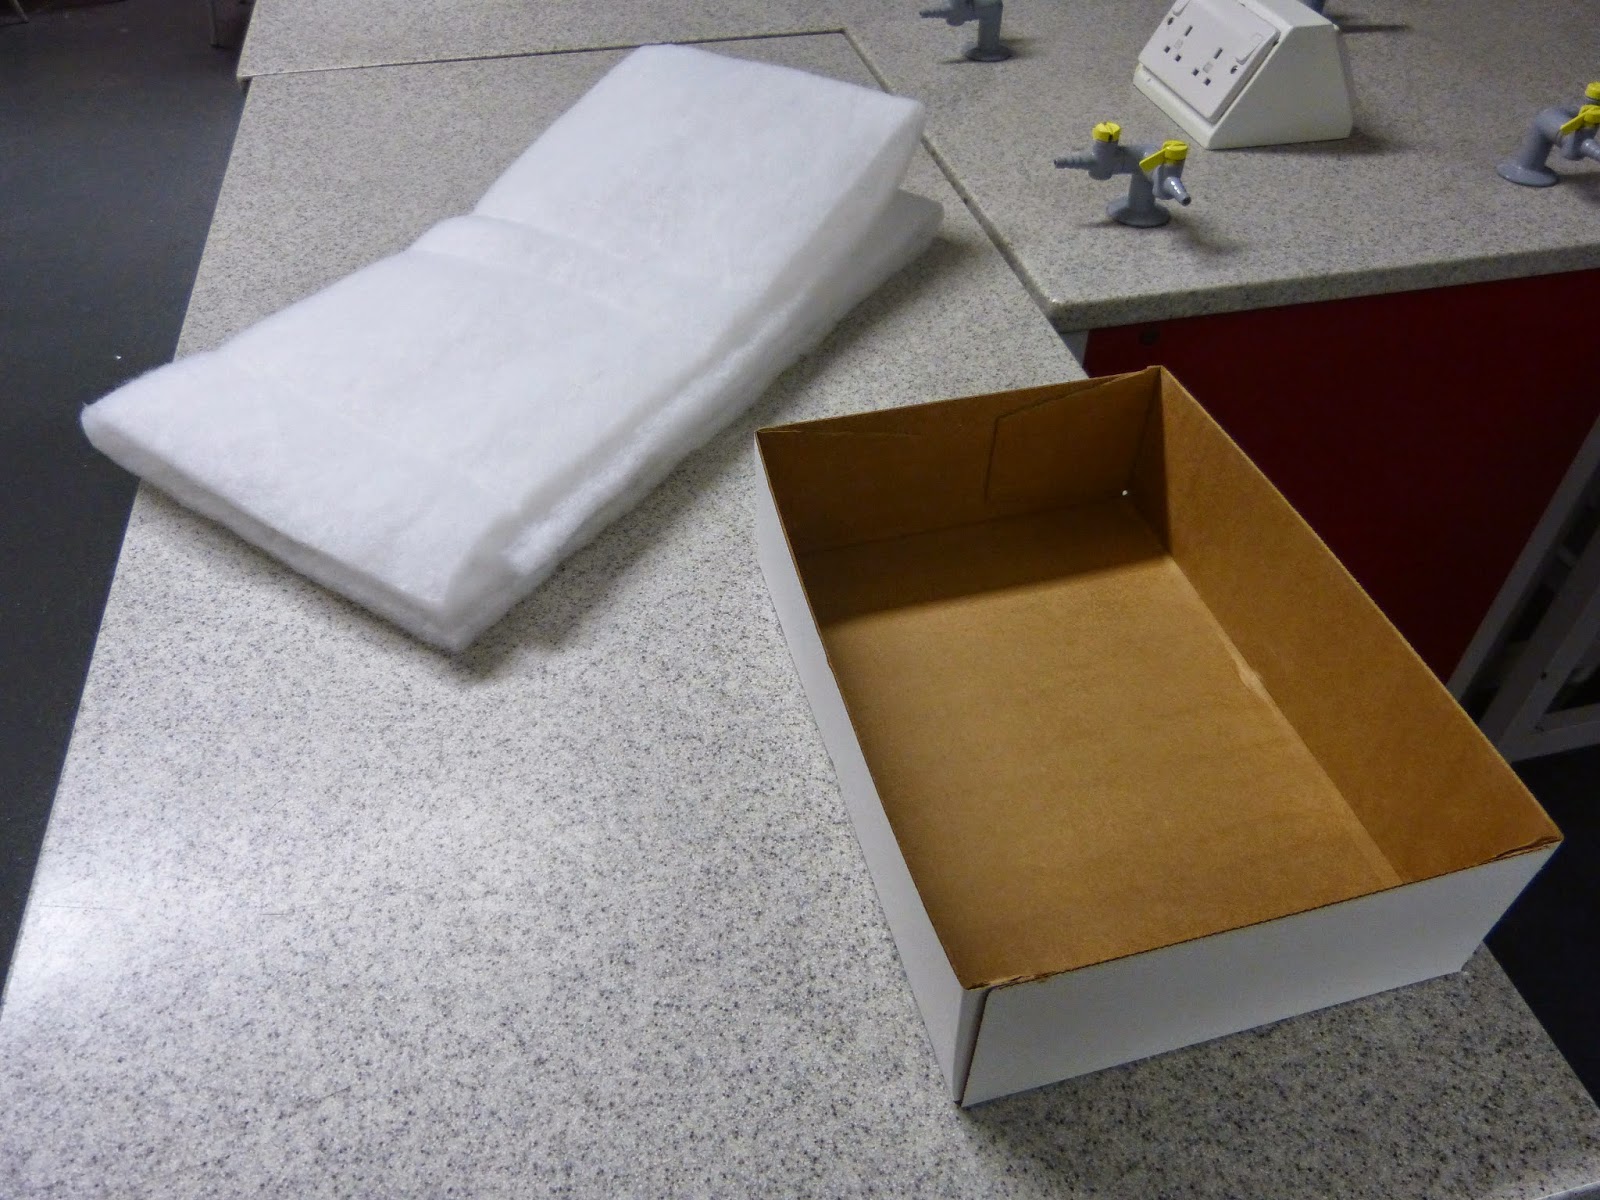
- The lid of photocopier paper box
- brown and white acrylic paint
- The items you wish to display!
Steps to make your nature table:
 1) Take your box lid and paint all one colour; I decided to go for a pale brown. Then, create a 'wood' effect by taking a darker brown and painting streaks all around the box lid. The idea behind this was to create a 'look-alike' drawer in which to display the objects of interest.
2) Cut out a piece of wadding to fit inside the box to line the bottom. This has two purposes; it creates a much cleaner look, and white is a nicer colour to display objects of varying colours on, and it also cushions the objects. The strip I bought is enough for more than three boxes.
 3) Place your items inside the box in a pleasing arrangement, and write labels to identify them. If I had completed this part myself, I would have included both common and latin names, as well as date and place of collection. However, I decided to let members of my Science (STEM) Club identify and label them to get them more interested and involved.
4) On whichever surface your nature table is going to sit, spread out the green felt.
5) Place your box in pride of place, with other natural items surrounding it.
I am hoping to build up my collection of boxes. So far, we have a 'shell' box, and next on the agenda is feathers. If anyone else has any advice on making nature tables interesting to young people, I would be very interested to know, so please do comment below.

No comments:
Post a Comment